This tutorial will provide an overview of basic actions. It uses the 'Defined layout' layout. This layout places images in a predefined layout (i.e. quarter page, 2 to a page etc).
Open Pics Print (if it is already open, then select 'New Document' from the 'File' menu.).
- Close tip windows, start up screens, options and all other popup windows until
only the main window is open.
The application should look like this:
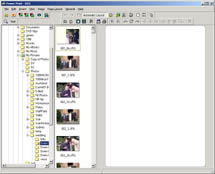
- Change layout to 'Quarter
Page'. To do this, from the 'Page Layout' menu select 'Automatic Layout'
and then 'Quarter Page'.
This will automatically arrange images so that each one takes up a quarter of the page. (Tip: Select 'View', 'Image Layout' to see how items will be laid out. - Add an image using the browser. In the left hand 'Browser' pane, navigate until you find a folder containing images. Double click on an image to add it to the preview pane.
- The image will appear in the top left corner. If you try to drag it to
a new location, it pops back to the top left. The image has no resizing
handles and the image size menu items are disabled. This is because
we are using a defined layout.
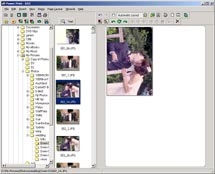
However the image is selected, it has a black border and gray 'Selection marks' in the corner. - Add another image. Now the second image is selected, and the first is not.
- Add a third and fourth images. As each image is added, it becomes selected and the others become unselected.
- Click on the first image with the left mouse button. Now it is selected, but the others are not.
- Hold the 'Shift' key down and click on the second image. Now both the first and second images are selected.
- Rotate the selected image by choosing the 'Flip Item' command from the 'Items' menu. Only the selected items are rotated.
- You didn't like those images and now they are upside down. Delete them! From the 'Items' menu, select 'Remove'. The two remaining images will move to the top of the page.
- Select the two remaining images by choosing the 'Select all items' command from the 'Edit' menu.
- Remove them both by right clicking on a selected image and choosing the 'Remove' command. Now you are right back where you started.