This tutorial provides an overview of using defined layouts.
- Open Pics Print or create a new document.
- Change layout to 'Quarter Page'. To do this, from the 'Page Layout' menu select 'Automatic Layout' and then 'Quarter Page'.
- Go to the 'User Interface'.page of the Options dialog (View menu -> Options) and ensure that 'Simplified Interface' is unchecked.
-
In the 'View' menu, make sure there is a check beside 'Image Layout'. If there is not, then click on the 'Image Layout' menu item.
The preview page should look like this:
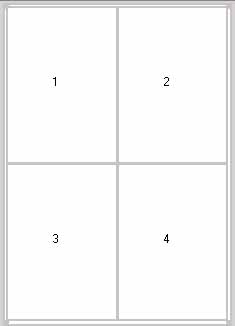
Each numbered rectangle represents a location in which an image or text box can be placed.
- Add 2 images. The first image will appear in rectangle 1, and the second in rectangle 2.
- Change the layout to 'Full Page'. The first image will resize to fit the entire page. The second will move onto the second page and resize to fit.
You can create and save your own layouts. See Saving Defined Layouts for more information.